Hardware Organizers
Wednesday, March 6th, 2019 @ 11:31 pm
cubby, dovetail, drawer, hardware, miter, organize, router, scraps
Last year I hit a bit of a productive motherload… I built a whole lot of things in a short amount of time over the winter, all things I’d hoped to make some day and been putting off for months or years. Such a huge boost to shop productivity, organization, cleanliness and efficiency, I couldn’t be more glad to have made them.
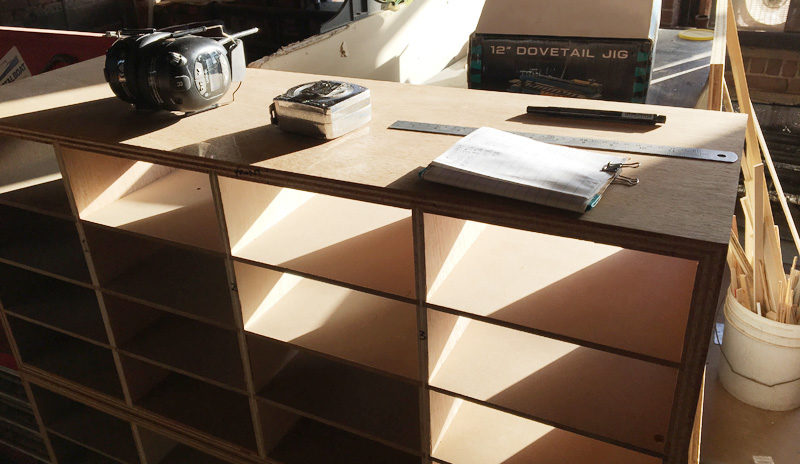
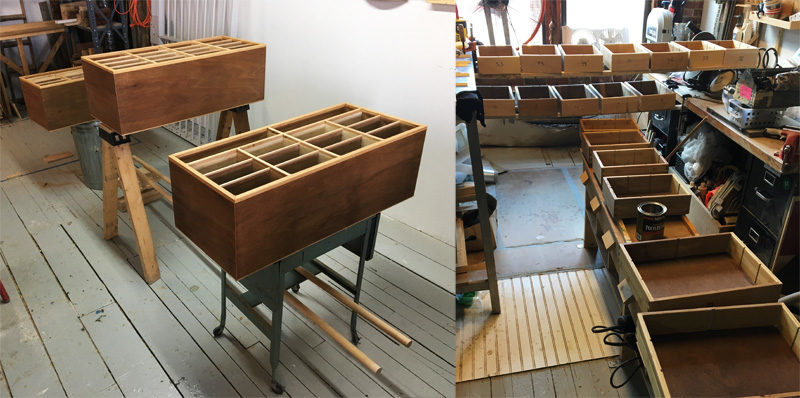
One of those projects was this set of hardware organizer drawer units. I’ve worked in various shops with different methods of storing and sorting hardware and fasteners and by far, the most interesting and attractive ones I’ve used have been old library card holder style units. Big, with many little drawers and thousands of parts. I’d been hoarding wood for years and always meant to use it for something, so I set about to use all salvaged material to build a set of drawer units for all the sorts of hardware I had and would (probably ever) need.
I found some nice, solid marine plywood on the street some months before with a couple friends, we carried it back to my car and I slowly began to daydream about the potential for breaking them down into these drawer units. Each sheet was maybe 3’x4′ and so each sheet became a case for a unit. I broke them down and then used a technique that I’ll probably use again in the future. I’d thought of this a while back after trying different methods of cutting clean miters and a bunch of experimenting with a flush fence on the tablesaw, and I’d highly recommend this method.
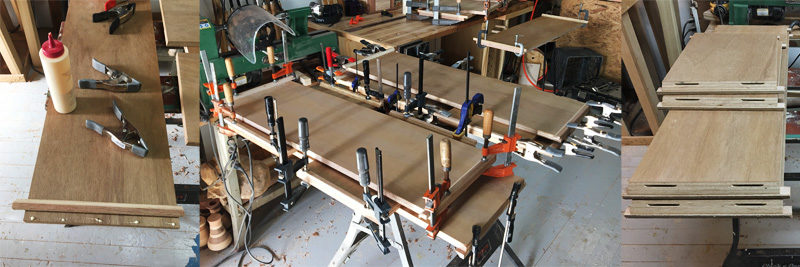
I’ve used cleats before with 45° angles cut on them to make it possible to clamp across the miter. This provides the opportunity for better clamping pressure and usually a much more stress-free miter glue-up experience. The bonus is that they’re also guides for cutting the miters using a flush fence. I can run them against the overhead fence and cut clean and accurate miters on the ends of each panel.
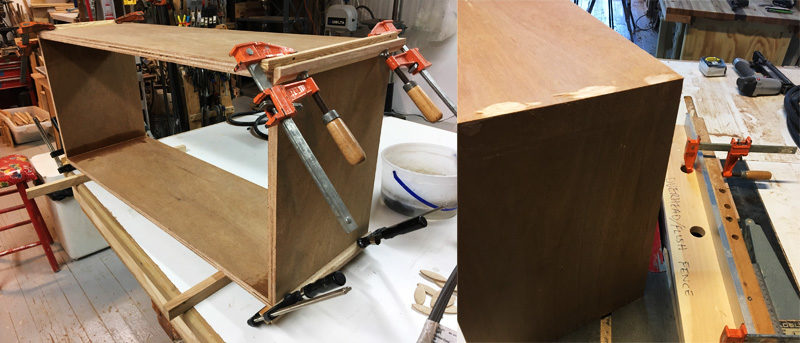
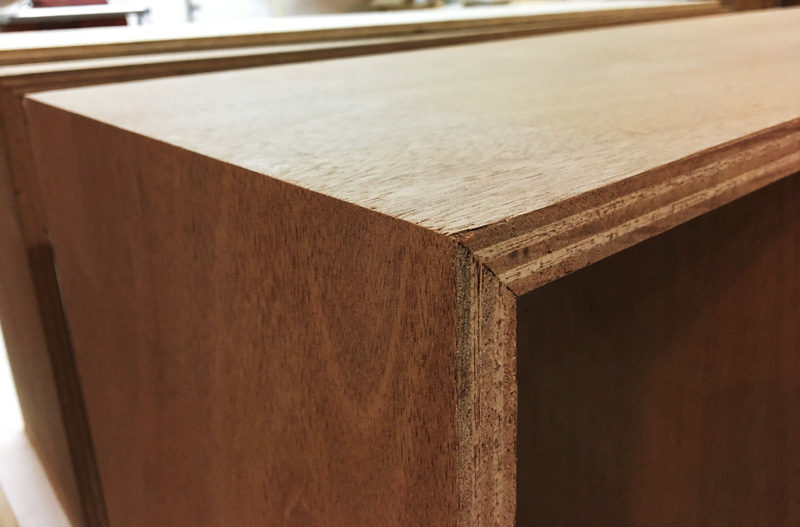
Gluing miters together like this is incredibly simple and quick and gives much more time for finessing each joint and cleaning up squeeze-out. And then, I use the same flush fence with the blade set to 90° to clean up those cleats. A little sanding and they come out nice and clean and gorgeous.
Next up, I figured out the plan for all of the cubbies, and started in on cutting dados with a combination of the tablesaw and my small router and a couple of jigs, and glued those in fairly quickly. Very dusty and messy, but the results were pretty satisfying
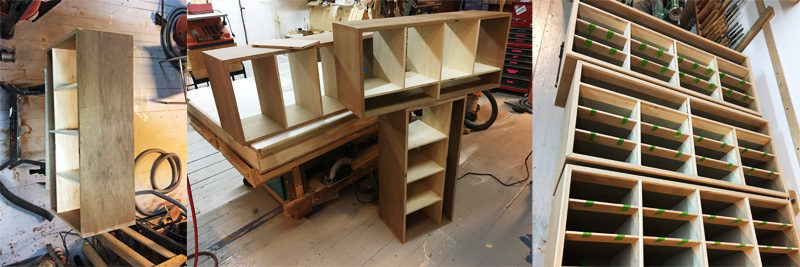
I glued on some maple faceframes to the fronts of all of these cubbies, and tape seemed to be enough to pull them down and keep them in place. The smaller dividers are just 1/4″ MDF, so those pieces were only about 1/4″x1/4″ and flexible enough for tape.
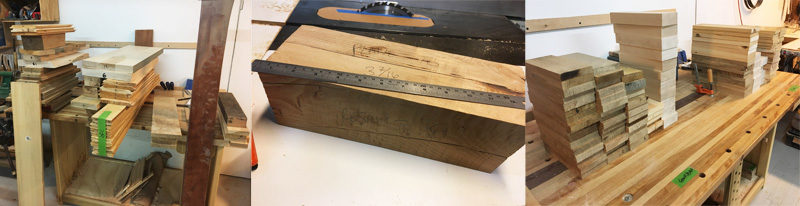
There was wood that I’ve collected from all over put into this project. Beech bed frame parts from an old professor, bamboo flooring from an ex-girlfriend’s mother’s house, maple from a client’s house, poplar from somewhere, oak from an old restaurant job, locust from a playground, firewood, some pallet wood, and some random scraps from here and there. It was a lot of effort, but it was remarkably satisfying to break all of this stuff down and enjoy all of the different types of grain patterns, and experiment with the different hardnesses.
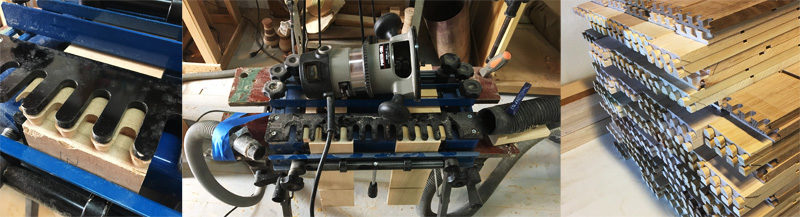
Setting up these jigs isn’t something I’ve done regularly, so it took some time and some testing. And even part way into the cutting process, the router kicked and mis-cut a few pieces. Once the router bit was sliding down and so the depth setting changed. The other times were all when the bit caught on something and kicked. This only happened with the black locust. Not oak, maple, or the bamboo flooring. Next up I cut some dadoes across each drawer side and one for the bottom, and they were ready for assembly.
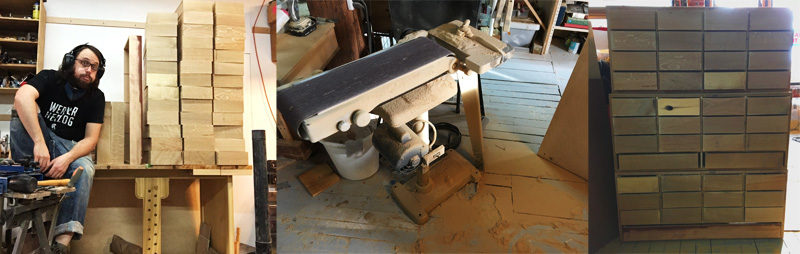
Fitting these was the messiest thing I’ve done in a long time. More than the milling and the dovetailing, which kicked up quite a bit of dust. Once they were all fitted, they were ready for finish.
Everything got 3 coats of poly, scuffing with 0000 steel wool between each. I eventually switched to spray poly for the drawers because it was easier to get into all of their cracks and lay on a bit heavier than wiping with a rag.
All in all, they came out great, and function even better. I don’t have photos of any completed with labels and handles, nor with dividers or contents, but I’ll update eventually when that happens. For now they are serving their purpose and have cleaned up our mishmash of a hardware selection a great deal. And they’re quite handsome now, and I get to remember where each bit of wood came from, and what it was like to pull out all of that wood and make it into this useful something that I’ll have and use for years to come.
Comments
Thoughts on the stuff you read? You can leave a response, or trackback from your own site.
Leave a Reply