My New Workbench!
Tuesday, December 5th, 2017 @ 3:10 pm
beech, counter, fixture, maple, material, organize, pine, plywood, poplar, project, reclaimed, repurposed, shop, studio, upgrade, walnut, woodworking, workbench
I am so excited to have done this project recently. It’s something I’ve dreamed of for at least a whole year, if not longer, and it’s such a treat to have gotten to make it, and now to get to use it almost every day. And hopefully for years and years to come.
Originally I found this old kitchen countertop someone had pulled from their house, with a sink cutout in it already, and dreamed of making it a modular workbench, with different inserts that would fit into that sink hole like a router table, maybe different kids of joinery jigs like some sort of Kreg pocket screw station and a downdraft table, but the countertop was too big for the space we have in this studio, and that was a bigger project that we just don’t have the need for right now. We have a great router table already and plenty of other amenities that have been working just fine. So I scaled it back a bit. After building the new work table, I was really pleased with having a reliably flat work surface that I can use as reference for laying out and marking things, or setting jigs on and cutting with them. So I figured I’d start with flattening the slab.

This old countertop was from my parents’ kitchen, when they remodeled it about 10 years ago. Finally getting put to some new good use.
As you can see, I just laid down some straight material on that new straight, flat table and got right to work. I made a sled for the router to sit in and used a big 1-1/4″ bit to take down material from one side until it was flat, then flipped over the countertop and cut the other side. At one point I went a bit too fast, and I chipped the router bit pretty badly, but I’ve only used it maybe twice in three years, so I can absorb the expense of a new one at some point, whenever I need to do this again. I love this method, even if it is a bit messy. It’s reliable, simple, and cheap. And I’ve gotten great results with it so far.
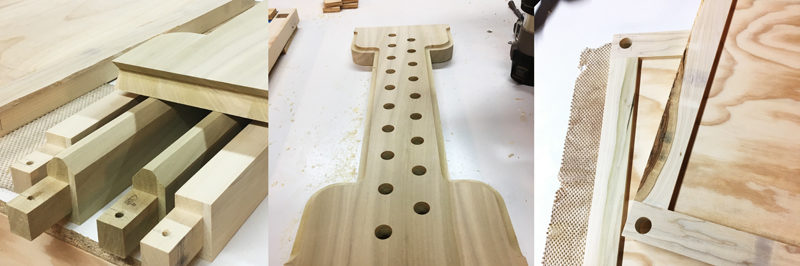
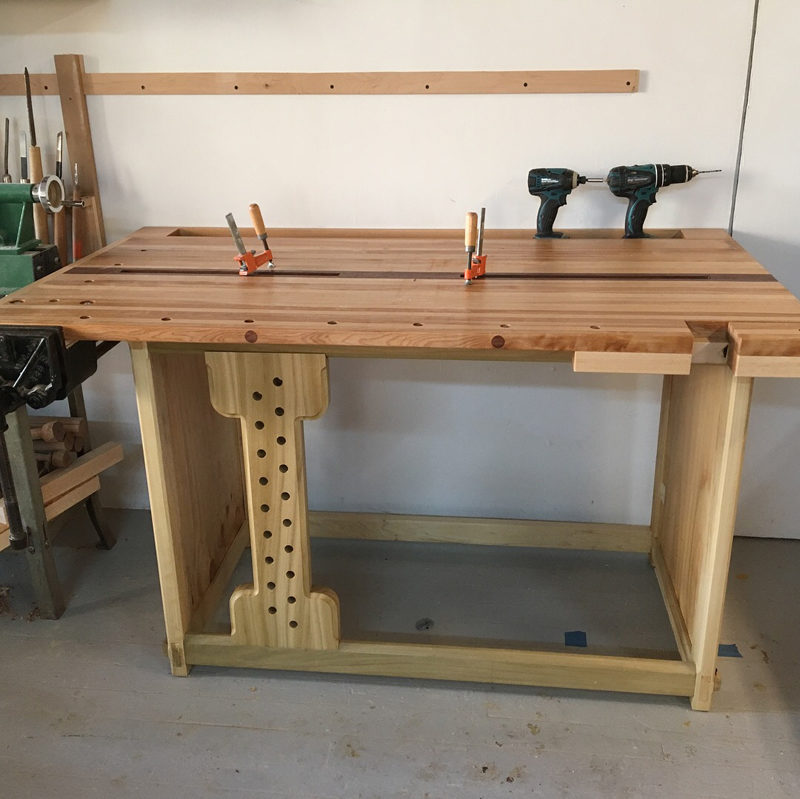
Frame members, the deadman and the outer walls.
I thought it would be fun to try making this with a sliding deadman in the front, so I made one of those too, and it was a really fun shape to work with, and to take my time laying out the holes and making it nice to look at. The wall panels are 3/4″ plywood glued into dadoes all the way around the frame, and the tenons on the rails are mortised through the panels and wedged with wedge-shaped dowels made from purpleheart. Getting the shapes of everything and trusting the math before it was assembled was a bit nerve-wracking, but I had multiple drawings and a full Sketchup model I’d made to work from, and it all turned out awesome.
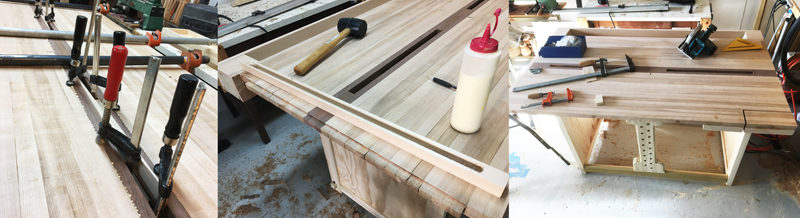
Gluing in the center clamp gaps and a breadboard on the vise end. And placing the top!
Once I got the frame glued together and cleaned up a bit, I was able to set the top on top of it and take it through to completion. I had to mount a vise on one end of the table, but I had left the counter top about as long as I could while still trimming some of the ends away. But you’ll notice years of kitchen use had worn away at the glue joints a bit, and I wasn’t comfortable mounting a heavy vise that would receive a bunch of use to those. Much less bolting through that and feeling like it would hold up. So I used a rabbeting bit and cut a long breadboard joint on the end, and glued that thing right on. It’ll probably break the glue joint at some point but it’s nice to have some more solid material there. And I can always fit it! I also cut a corner off and glued some extra blocks on the bottom, with a long sliding dovetail on them, so the right had corner functions as a tail vise. I later drilled holes for all the bench dogs to go in and use in conjunction with that and the metal vise on the other corner.
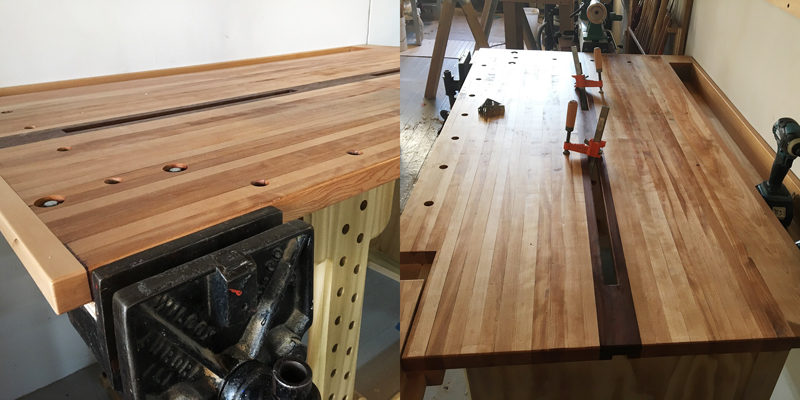
Finishing it up and makin’ it pretty!
I also made a tool trough for the back edge of the thing, which measures about 3-1/2″ wide and about 4″ deep. Plenty of space for tucking things out of the way while I need more flat real estate, and to keep from knocking everything off the bench when I shift something around. That’s made from beech that my old teacher gave me from and old bed frame, and some pine I had leftover from another project. You can see in these photos how the clamp gaps work, and man have they been helpful! For biscuiting, laying things out, hand planing, or otherwise cutting joinery it’s nice not to have clamps at the front edge all the time, and to have such a stretch (about 15″) from the front of the table to the clamps, I have a lot of room to work. I can’t until I have the tail vise finished, it’s going to be a world of difference as far as ways of holding work is concerned.
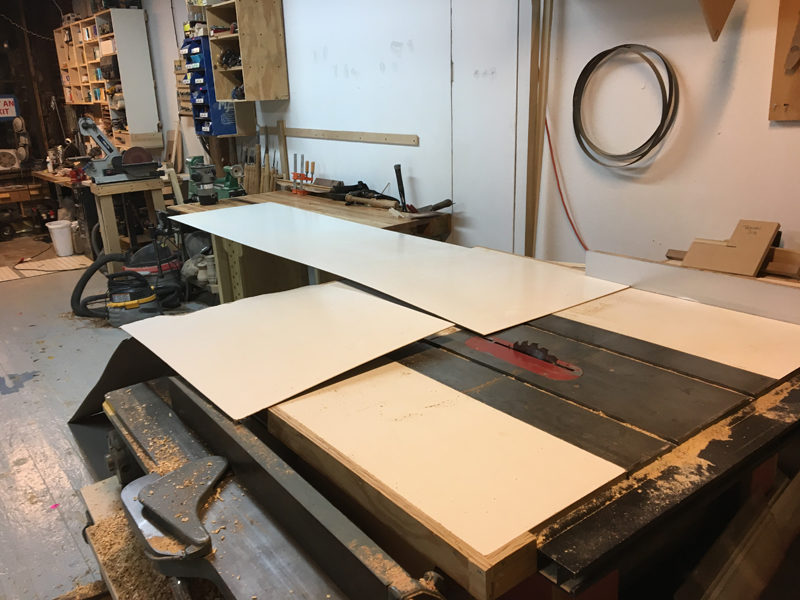
It even functions as an extra outfeed table when ripping long materials!
All in all, I’m extremely happy with the way this guy turned out. It’s definitely what I needed, wanted, and will love to use for a while now. In addition to the tail vise, the next step is going to be the lower shelf, and a box with drawers to neatly (and more safely) store chisels, files, planes, and other hand tools all in one place. It’ll be a nice unit to bring whenever I move into a new space, that I could probably use all on its own and just bring work to machines when I need to. But for now, it’s a stellar addition to the workspace.
My new bae. Whatta babe.
Comments
Thoughts on the stuff you read? You can leave a response, or trackback from your own site.
Leave a Reply