Oak & Maple Slab Bench
Tuesday, August 15th, 2017 @ 11:03 pm
bench, commission, furniture, maple, slab, walnut, white oak
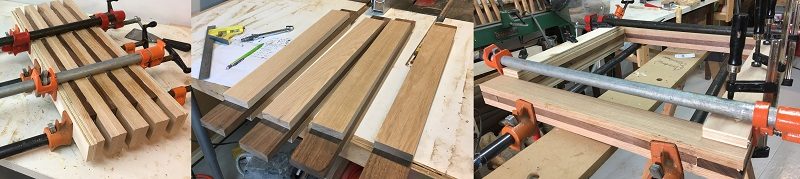
A friend from college asked me a while back if I could build him and his fiance a bench for their porch. “Maybe 4-5 people” he said, and small enough to fit in a little back porch area, and be moved inside during the winters. Not too steep of a challenge, and he was so open to my design ideas that I was happy to jump on the opportunity for a new portfolio piece.Making some white oak and walnut sandwiches, pre-cutting everything to length based on their mating pieces, I was able to get things finish milled and assembled in two sections, and then glued together into the full end loop legs.
Making and Assembling the Legs
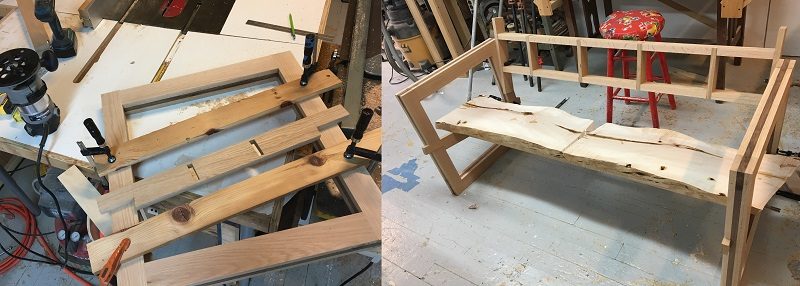
Then, taking measurements and proportions off an existing (and wonderfully comfortable) chair in our studio, I located the front and back heights of the slabs, and clamped a fence to the legs spaced apart for the router to cut out the slots for the stretchers. Then I cut and assembled the grid structures that became the long stretchers to hold the slabs, and hand-chopped the through-mortises for the lower stretchers and dry-clamped the whole thing together to size the slabs.
Routing slots and Chopping mortises
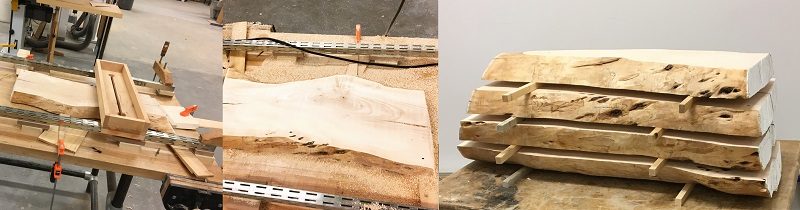
I had the great fortune to be able to work in the MassArt shop for a bit during this project, where I did the prep work on the slabs. Setting up two box-tubing rails from an IKEA shelving unit, I made a sled for the router to slide across and level them, and used the big machines in that shop to joint and plane everything to a nice finished surface.
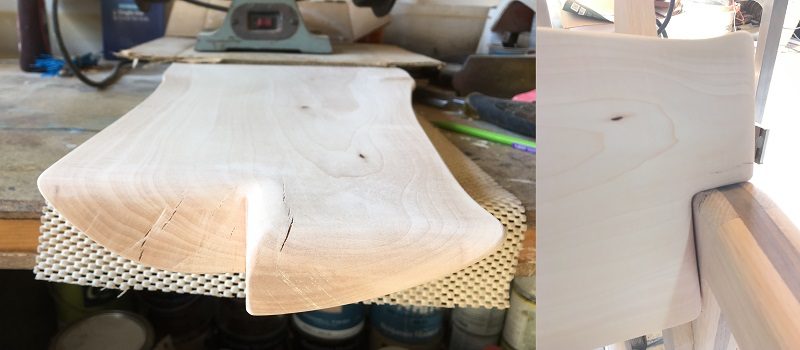
After figuring out the sizes and angles of the slabs, I cut them down to their finished shapes, their ends matching each other and referencing the ends of the bench frame. Once I moved on to the slabs for the back rest, I found I had an opportunity. The seats stuck out through the legs, but the back rest pieces needed to either overlap the legs, or be cut short. Cutting them short seemed to cut the design off suddenly, so I opted for the notches. Basically using a circular saw and my sander, and a little delicate roundover work with the router, I came up with my favorite little detail on this project. The rounded notches fitting just over the edges of the legs helped the slabs fit right into the frame that displays them to the viewer, and gives the sitter something more to run their fingers over and enjoy. They are pillowy, and cute.
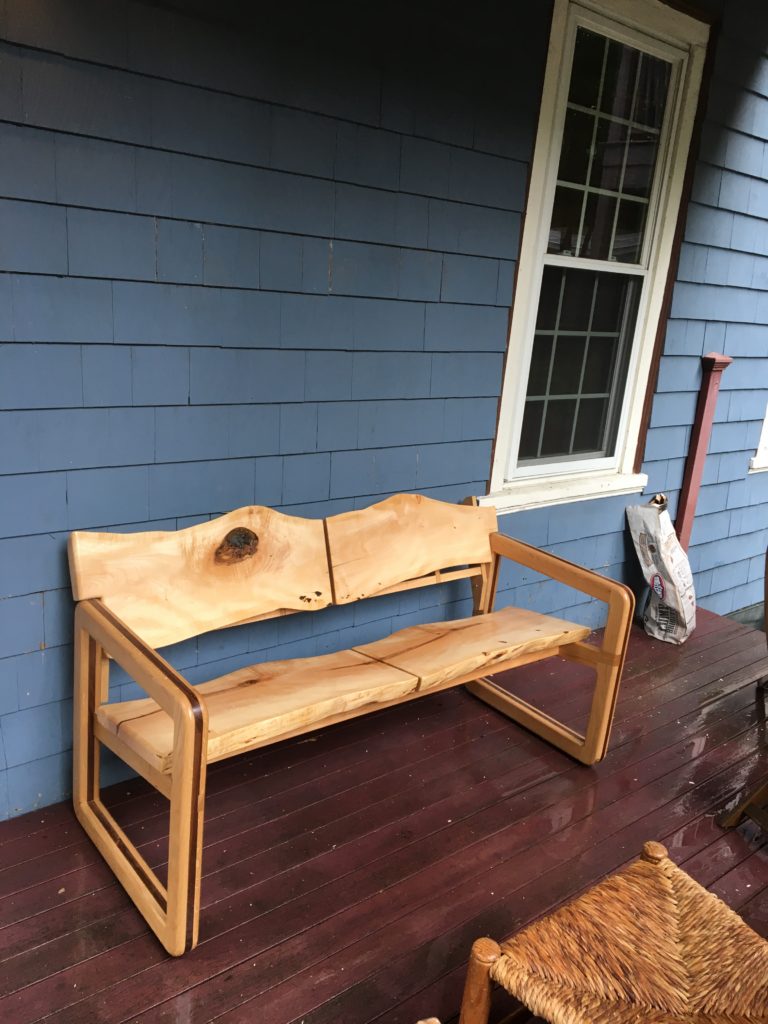
Here it is installed on their porch, ready for use, in the first rain storm of its life.
Comments
Thoughts on the stuff you read? You can leave a response, or trackback from your own site.
Leave a Reply