Jewelry Box
Sunday, March 3rd, 2019 @ 1:06 pm
box, custom, design, experiment, gift, jewelry, joinery, mahogany, maple

My sister mentioned to me, way back in the Fall of 2017, that she might want me to make her a jewelry box. Eventually sent me some sketches of what she had been thinking of, and I took those ideas to Sketchup to figure out interior dimensions, and the mechanics of all the moving parts, doors and drawers and such. I ended up deviating a bit from this plan, but it gave me a good starting point and got my mind into thinking through joinery of parts and the overall process in a way that I could break it down into sections and get started.
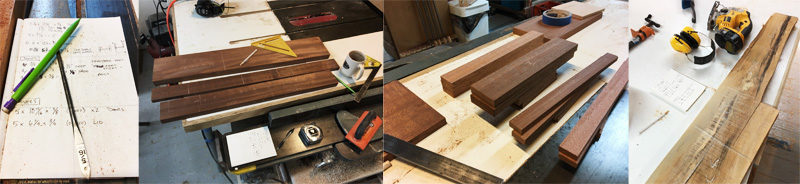
I started by listing all the parts, their rough and finished dimensions, and other details about each. Aiming to keep accuracy at its peak during this project, I used my marking knife (made from an old spade bit) for a lot of the joinery on these pieces. Setting a tool to a knife mark is the closest I’ve gotten to perfect, since it’s “width” is so much tinier than a pencil or pen line. Along with making extra parts and running test cuts on everything before committing to the real parts, it worked out pretty well.
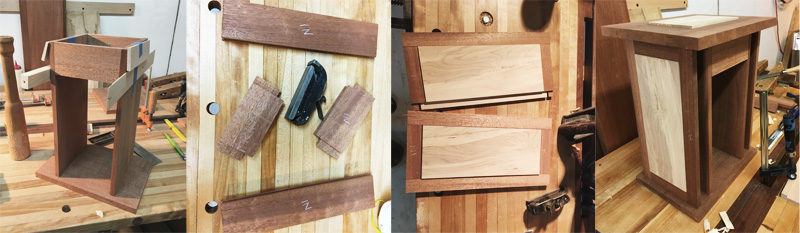
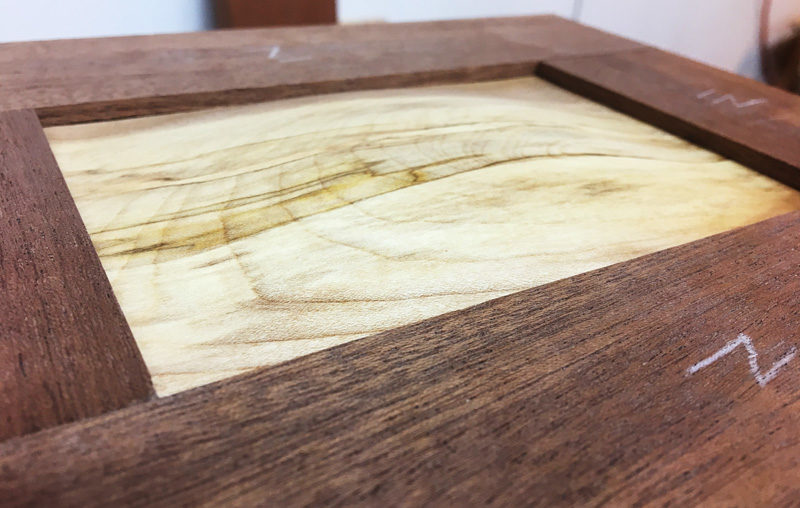
I drew the thing full size which helped a lot to figure out joinery and flesh out the build plan. I also left all of the panels thick in the centers because I wanted to add some shape to those parts. Give them some pillowy roundness bulging out of the frames. The top piece worked the best, since it had the most extra material, and I’m pretty happy with how it came out. I’d love to experiment more with textures and shapes of panels inside of frames
Another part of my experimenting with shaped parts on this project was making the doors. They needed to have two long mitered seams so that they could form an open-ended box shape, and the joints needed to be strong enough to have a roundover cut off of them as well. I’ve had better experiences generally cutting super-clean miters with a router in some particular situations, and since these parts were so small, I figured I’d give that a shot. The router bits are pretty well ground to an accurate angle, and if the table is flat, and the fence well-aligned, you can get a very straight, clean, accurate miter cut on two pieces that comes together very nicely.
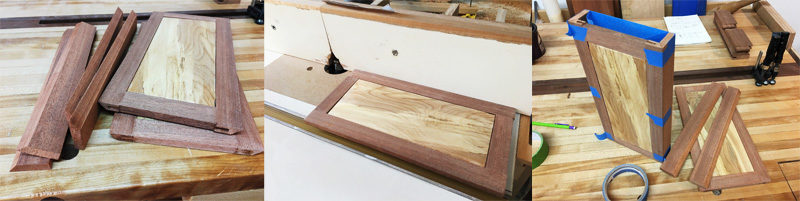

I’d thought of putting some splines in there to strengthen the glue joint, but with pieces so small, and the eventual of this object use being fairly gentle, I figured a good clean edge glue joint would be plenty strong. I’ve also had some issues getting the measurements exactly right when cutting and gluing in splines, and on such a focal point of the piece, I didn’t want to risk it.
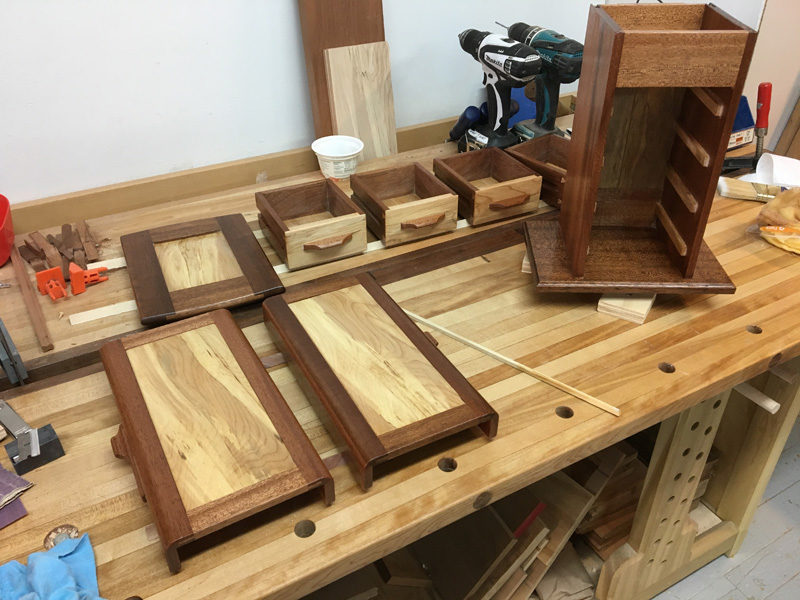
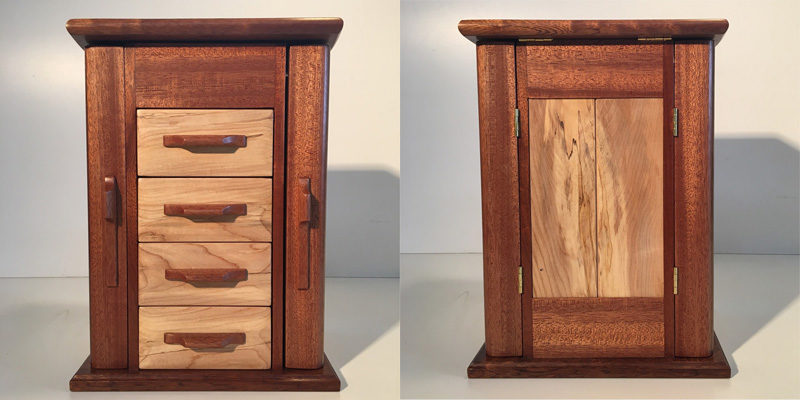
Next step was to figure out the drawers. I started with getting some nice faces, and figured out their arrangement, trying to make the grain a nice feature running down the face of the piece. Then I cut the other parts and started in on some dovetails. They didn’t come out being my finest, but they certainly work and are plenty tight and square.
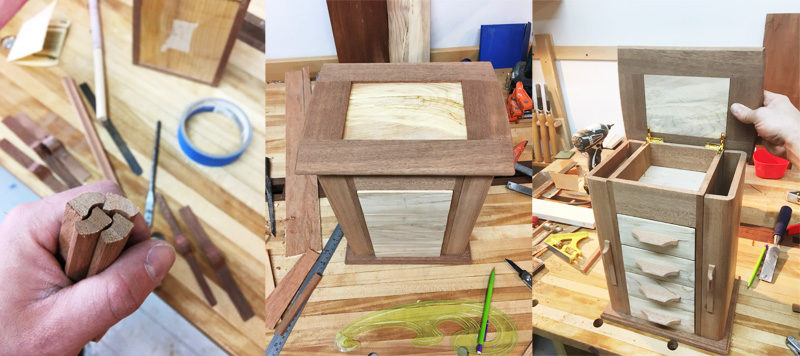
After some trials, I figured out a nice drawer pull shape and attached those to the moving pieces, and ended up rounding the edges of the lid a bit, and giving it a nice big roundover so the edges are almost a full round. Fitting the hinges and hardware onto this thing was a bit of a scary process. Those lid hinges go down into the vertical walls of the box about 1-1/2″, and in a semi-circular path, since they are curved pieces, so I had essentially drill out quite a bit of material in there so that their movement was smooth and easy, all without really being able to see what I was doing. But I was careful, tested it after each attempt to clear material, and it worked out pretty well.
I used an article from Fine Woodworking to help in the finishing process of this project. I’d never had an awesome experience with shellac, and since it’s ubiquitous both in contemporary woodworking and in historical woodworking projects, with a variety of uses, I thought I’d take a shot at learning how to work with it in a way that I could appreciate in the end. Basically I applied thin layers by soaking a cloth and wrapping it in another cloth, similar to how I’d buff a surface with paste wax or something similar, leaving just a little of the shellac on the surface with each coat, and always working lightly and with the grain. I probably applied 4-6 coats on this whole thing, scuffing with 320 sandpaper between each coat. I know shellac isn’t the thickest or most protective coating out there, but it does look quite nice on this piece, and it’s easy to repair and work with later on too, which may come in handy.
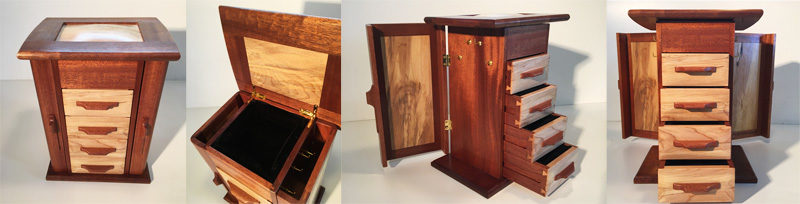
It was a great experience working on this. I had a lot of time on my hands then, so I was really able to focus fully and consistently on the one project, making things clean and accurate and as nice as possible. It was a nice opportunity to use some nice woods I’d been saving from various friends and old jobs, and to experiment with a bunch of things. I got in some good practice with very small joinery, shaping, hand dovetailing practice, some good design exercises, and some velvet-wrapped foam padding for the insides of the compartments.
Comments
Thoughts on the stuff you read? You can leave a response, or trackback from your own site.
Leave a Reply